This project will help you organize your garage and become the MVP of DIY projects. With all your sporting gear in the same place, you’ll always be prepared when someone yells, "Where’s my basketball?” (Or volleyball, hockey stick, tennis racket, etc.)
See how it’s done, then follow the step-by-step instructions to build one of your own.
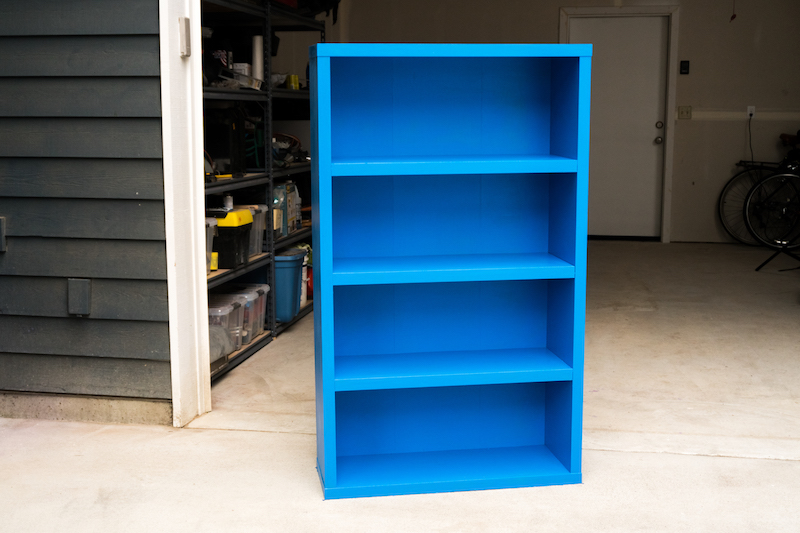
1. Find a bookcase
Choose a bookcase with at least three wide shelves so you can store gear in a variety of sizes.
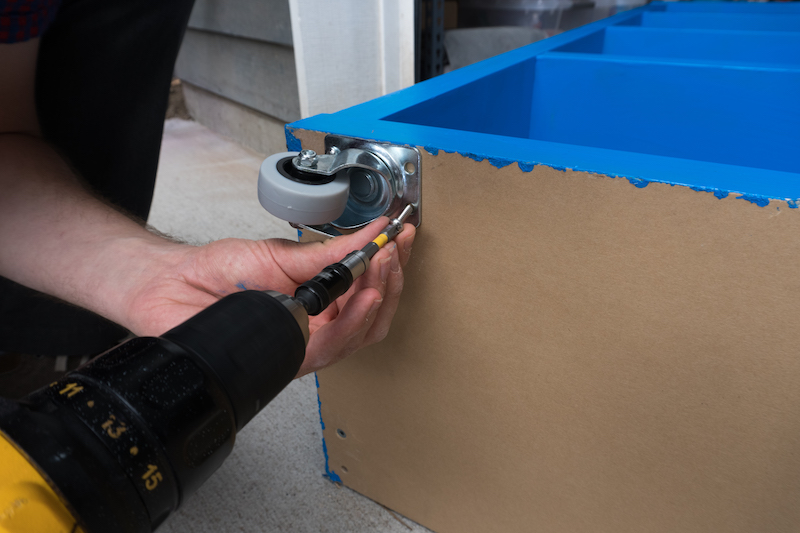
2. Add locking wheels
Attach locking wheels to the bottom of the bookcase so you can easily move it around the mudroom or the garage.
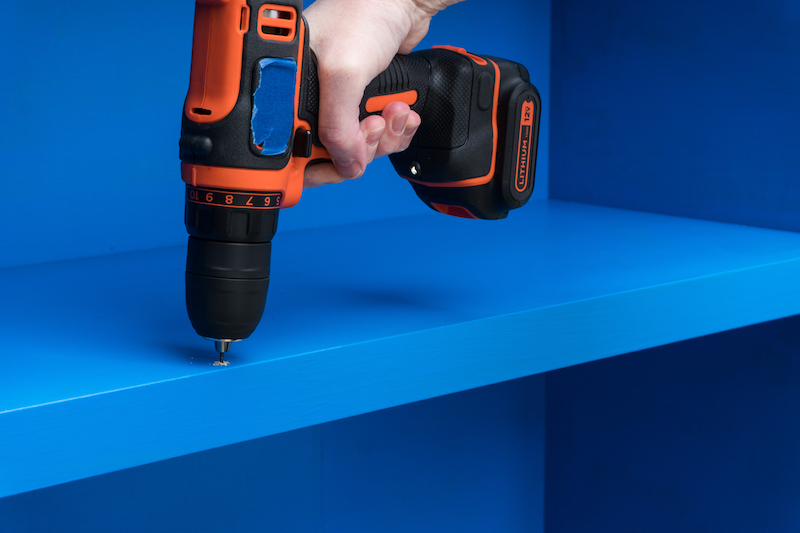
3. Drill holes
Drill evenly spaced holes (about four or five, depending on the width of the bookcase) along the top surface of one of the shelves. Keep the holes fairly close to the edge - about one-half inch away or less.
On the underside of the shelf below, drill holes to match up exactly with the holes on the shelf above.
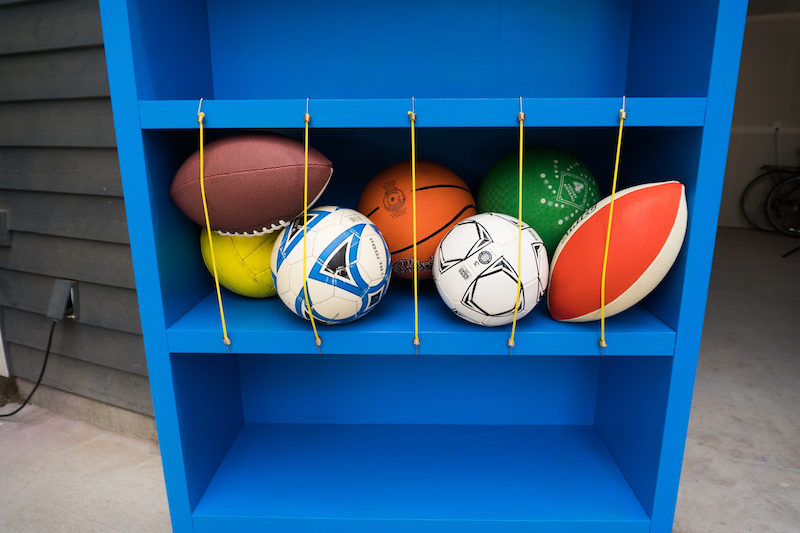
4. Attach bungee cords
Place the bungee cord hooks in the drilled holes, and arrange the cords vertically so they create a net. You want the cords to be pretty taut, so get the right size for your bookcase.
5. Mount peg boards
Frame the sides of your bookcase with 1-by-2-inch boards to support peg boards that have been cut to size. Secure the peg boards with a few nails on the top and bottom.
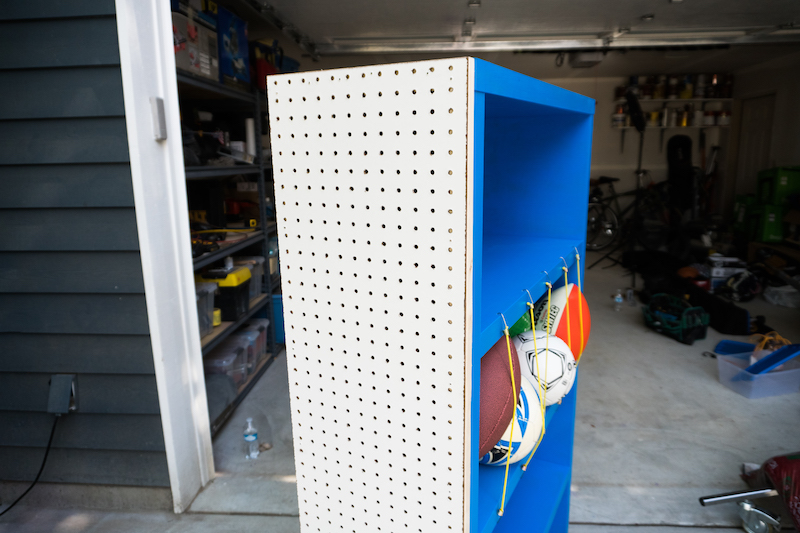
6. Customize with hooks and holders
Place hooks and holders on the peg board so you can hang your tennis rackets, baseball gloves, jerseys, helmets and more.
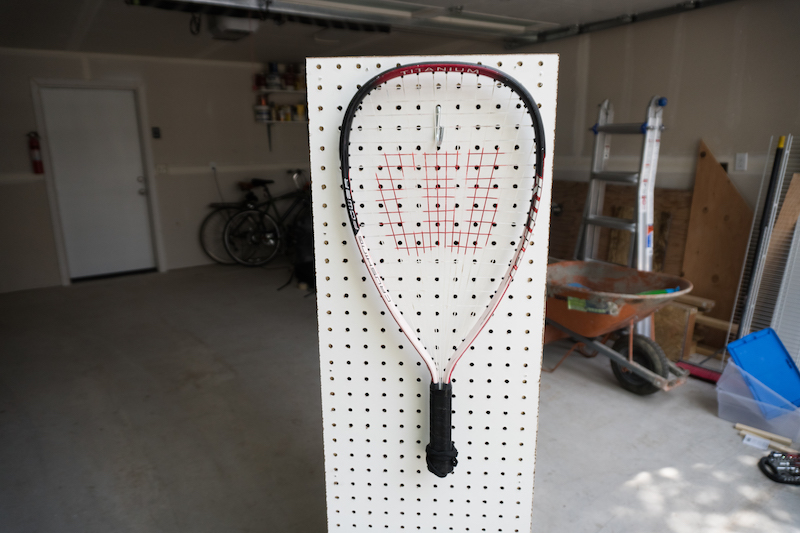
7. Load up your catch-all, MVP!
Grab your gear and organize the bins however you see fit. Now all you have to worry about is scoring the winning goal.
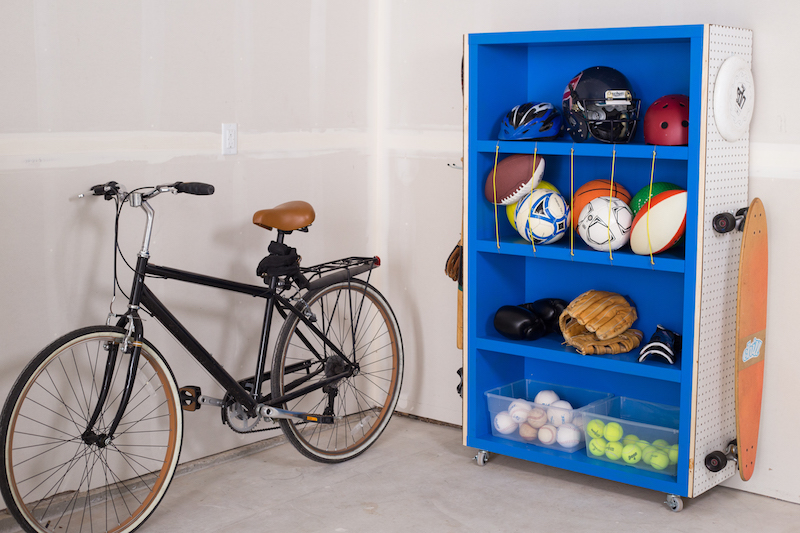
Related:
- A DIY for the Books: How to Get Custom Built-In Shelves on a Budget
- A Quick DIY for Space-Saving Kids’ Room Storage
- DIY Backyard Fire Pit: Build It in Just 7 Easy Steps
Originally published September 2017.
from Zillow Porchlight http://bit.ly/2y2b99T
No comments:
Post a Comment